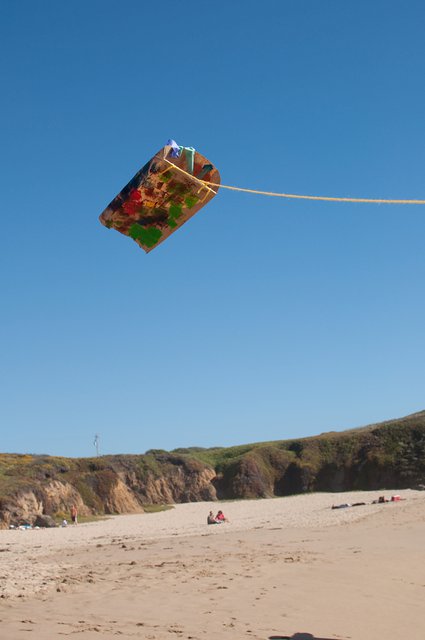
Paper Bag Kite
These simple kites made out of paper bags really fly! Decorate using paint, markers or stickers, then take them to park or the beach and watch them soar.

Project Info
| Difficulty | Easy |
|---|---|
| Duration | 15-30 minutes |
| Age | 3+ |
| Submitted by | |
| Share |
Materials
- Drinking Straw
- Paint, markers, stickers to decorate
- Paper Lunch Bags
- Tissue Paper (for tails)
- Yarn
Instructions
- Open out the base of the paper bag by cutting around the bottom leaving one of the longer edges intact.
- Tape the drinking straw along the fold between the paper bag and the opened out base.
- Fold the base of the bag over the straw and tape inside the bag.
- Decorate the kite with paints, markers and / or stickers
- Cut 4 strips of tissue paper at least as long as the paper bag (or longer) and about 1 inch wide. Attach these to the base of the kite (i.e. the end with the straw)
- Pierce two holes in the kite - just above each end of the hidden straw (about 1/2 inch in from the edges of the kite) - see image
- Cut a piece of yarn about 12 inches long. Tie one end through one of the holes that you have just made. Now tie the other end through the other hole.
- Tie an overhand knot in the middle of the yarn to create a loop (see image)
- Securely attach the free end of the ball of yarn to the loop you have just made. This will be the string for flying the kite. If you wish you can cut this to about 10-12 feet and wrap around a card square. This will make it easier for smaller children to handle.
- You are now ready to fly your kite.
Reviews
✶✶✶✶✶
Not yet reviewed
Useful supplies
- our picks from Amazon for this project:Related Projects
Project Themes
- Letters I-L: Letter K
- Seasons & Weather: Autumn Fall Summer Wind
- Outdoor Activities: Kite Outdoor Fun
